How to use the 74461 switch decoder from Märklin with DCC
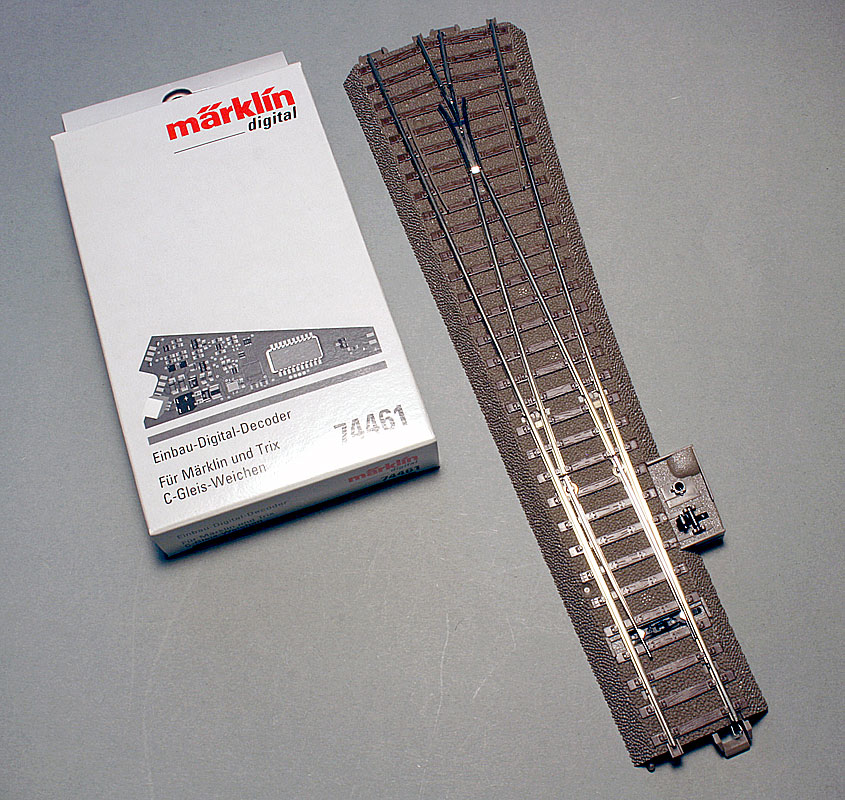
The Märklin decoder (prod.no. 74461) can be usefull if you have either Märklin or Trix C-track.
I have a bunch of Trix C-track that I use on a regular basis. It allows me to build whatever I want and since the program includes long points, it allows me a somewhat decent looking temporary layout. I like the C-track a lot, I think it is much better than the alternatives from Roco and Fleischmann. A temporary layout is quickly built and quickly removed when not needed anymore.
A few months back I bought some point motors to use with my C-track and my Lenz digital point decoder. I quickly realised though, that having to connect wires on a temporary layout can be a mess, and it really isn't much fun. I wanted something else. Since my model railway is DCC controlled, I was unable to use the old C-track point decoder from Märklin as it only speaks the Motorola format, but in the recent years Märklin have taken a new approach and released much of their digital stuff for DCC as well. This includes the new point decoder (74461). I bought a couple to check the concept out.
Getting Started
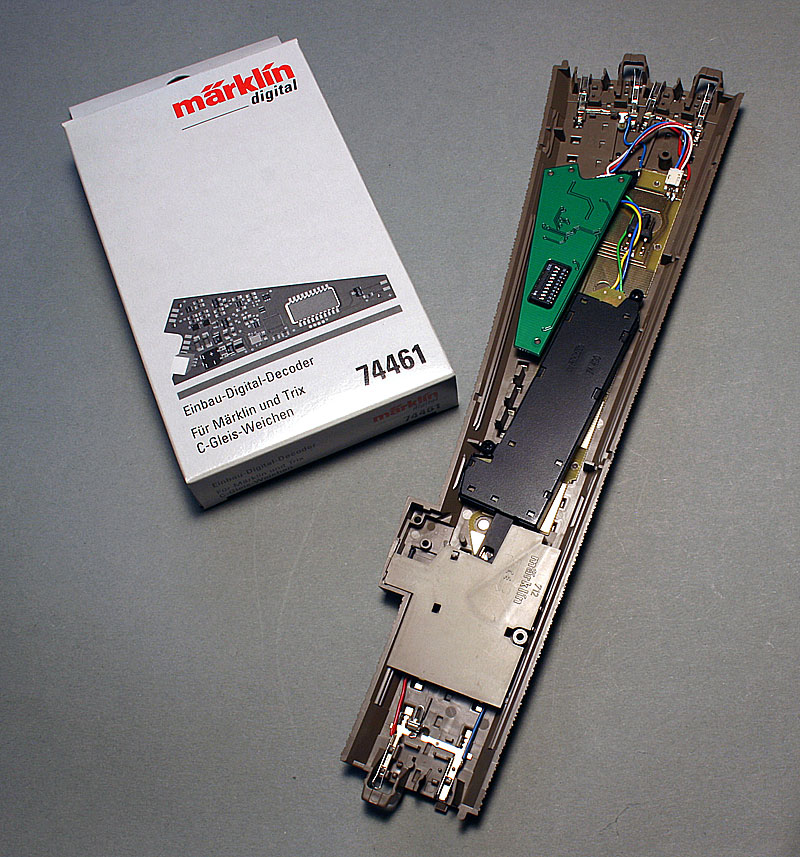
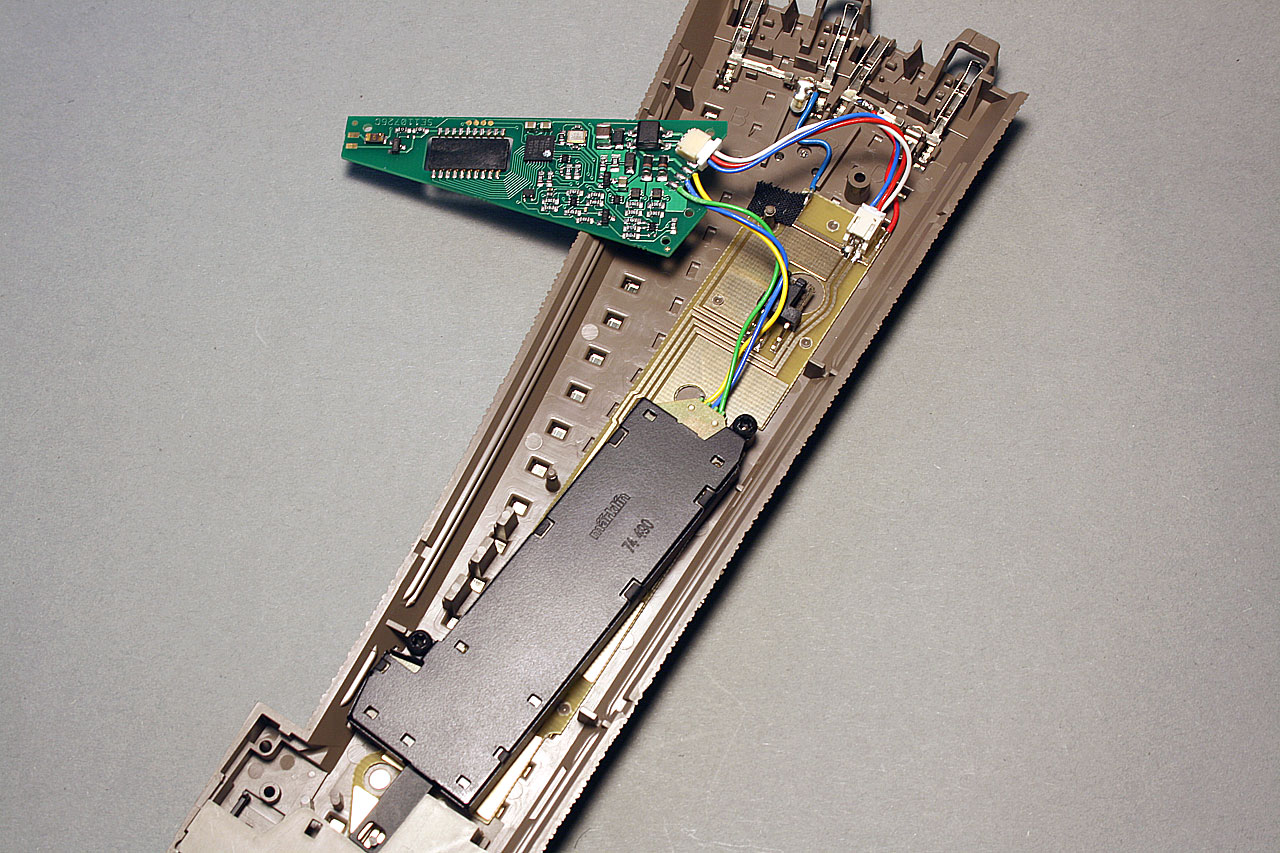
The point decoder is meant for the C-track, meaning that it will not make much sense to you, if you do not use the C-track. There are more and cheaper alternatives out there if you use other track systems. The whole idea of this decoder is to have it underneath the road bed of the C-track. The decoder can pick up current from the track itself, thus making additional wiring unnecessary. Just what I was looking for.
The decoder comes in a package with a few additional cables for installation. There is a cable for the Märklin C-track and one for the Trix C-track. There is also a little instruction book.
Mounting the decoder is easy and you can do most of it simply by looking at the pictures in the instruction book. You cannot mess things up, as the connectors will only fit one way. When the decoder is mounted it is time for programming it on your digital system.
Programming
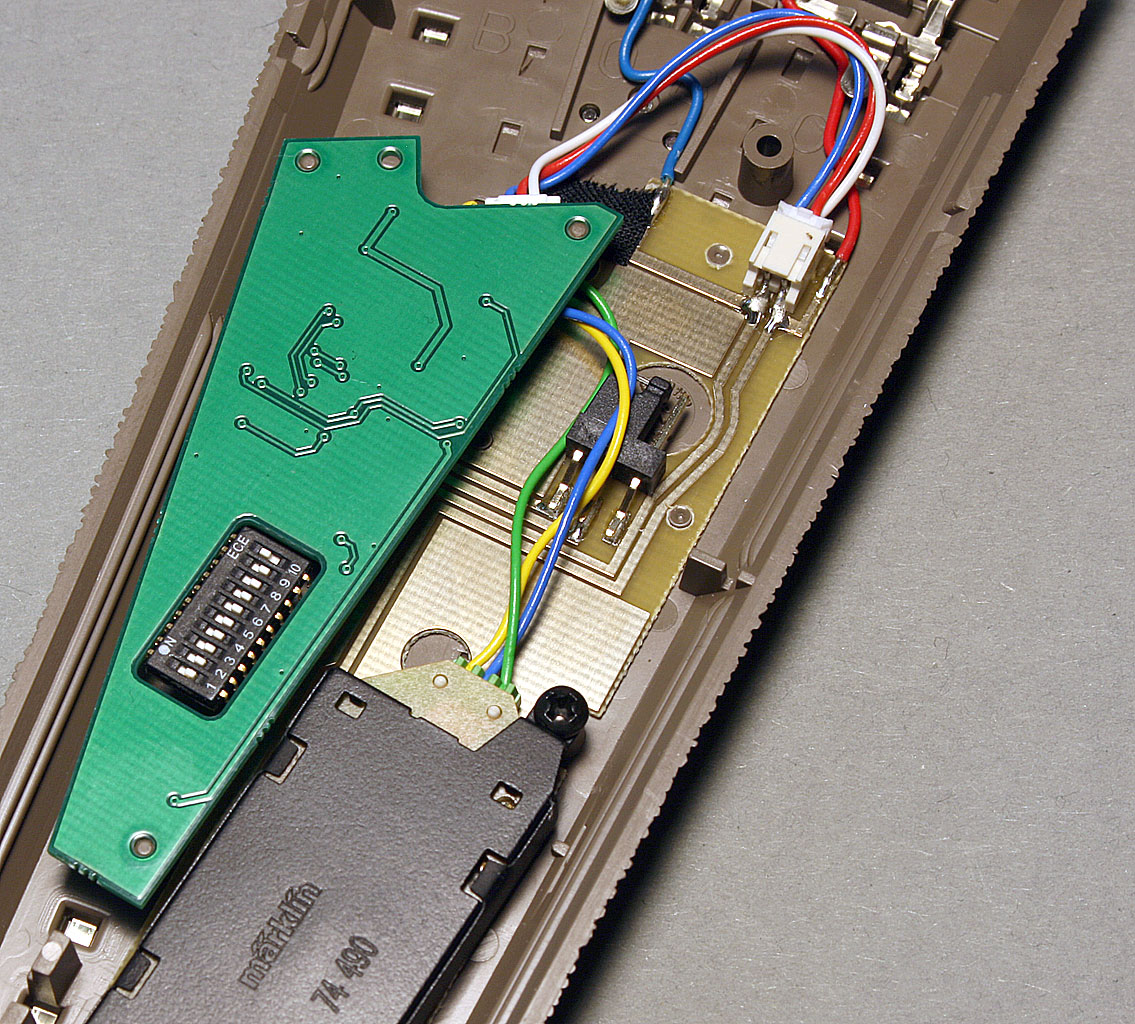
You can set the address of the decoder using the DIP-switch on the decoder, but you can also have more fun and program the decoder using your programming track. The easiest way to program the decoder is simply to connect it to your programming track. Call up the address (default is 1) and get going.
The instruction booklet contains a description of the very simple CV register. You do not have much options, as the decoder is really simple. Your options is to change the address and to turn off the point lantern should you have one on your point. The decoder has two soldering pads that will power a point lantern.
One thing worth noticing is, that if you simply take the decoder out of the box and connect it to your layout, call it up and try to operate it: It will not work! This is because the default language is the Märklin Motorola format ("fx MM"). Unfortunately this is not mentioned in the instruction book, what might be even worse, it is not clearly mentioned what you need do to change the format.
After a few trial and errors and some internet searching, I found out that you should flip DIP-switch number 10 to the ON-position and all leave all other switches in the OFF-position. You are now able to program and operate your decoder using DCC. A word of advise: Do not change the DIP-switch when the decoder is under power.
Using the Decoder
Here is the simple part. You are done! :-) Put the point back in your layout and call it up and operate it. No wiring is needed. It is very simple!
Verdict
I like the decoder, it is simple, fairly (apart from the DCC-programming issue) easy to use. I would recommend it if you use C-track and want some DCC-fun.
NOTE: I will only recommend this decoder if you have a temporary layout, I will not recommend the decoder for a permanent layout as it can be a pain to access the decoder should something fail. If you are looking for a decoder for your permanent C-track layout, I would recommend you look at decoders that you can mount underneath your layout base plate.
A note to Märklin: I hope you will edit the instruction book to better explain how to switch the decoder into DCC-mode. Also I would recommend swapping the chapter containing the drawing of the alternate wiring with the chapter containing the drawing of the recommended wiring. The alternate chapter comes first in the current instruction book and could give the user the impression that cutting wires is needed to make the decoder work.
Happy modelling!


