Making Trees With Woodland Scenics Realistic Tree Kit
Earlier I did an article on the Noch DIY trees, but I was not really happy with the result. I thought it was to complicated to get it to work. I decided not to go with that product.
I still need a lot of pine trees for my branch line project though, so some sort of DIY trees will indeed be a cheaper way to go than bying factory made trees.
Woodland Scenics has a product called Realistic Trees. You can buy them factory assembled or you can buy them in kits (including both armatures and clump foliage) and assemble them yourself. The kit price is obviously way cheaper, you can also buy a value-pack of armatures and buy the clump foliage seperately, which is even cheaper.

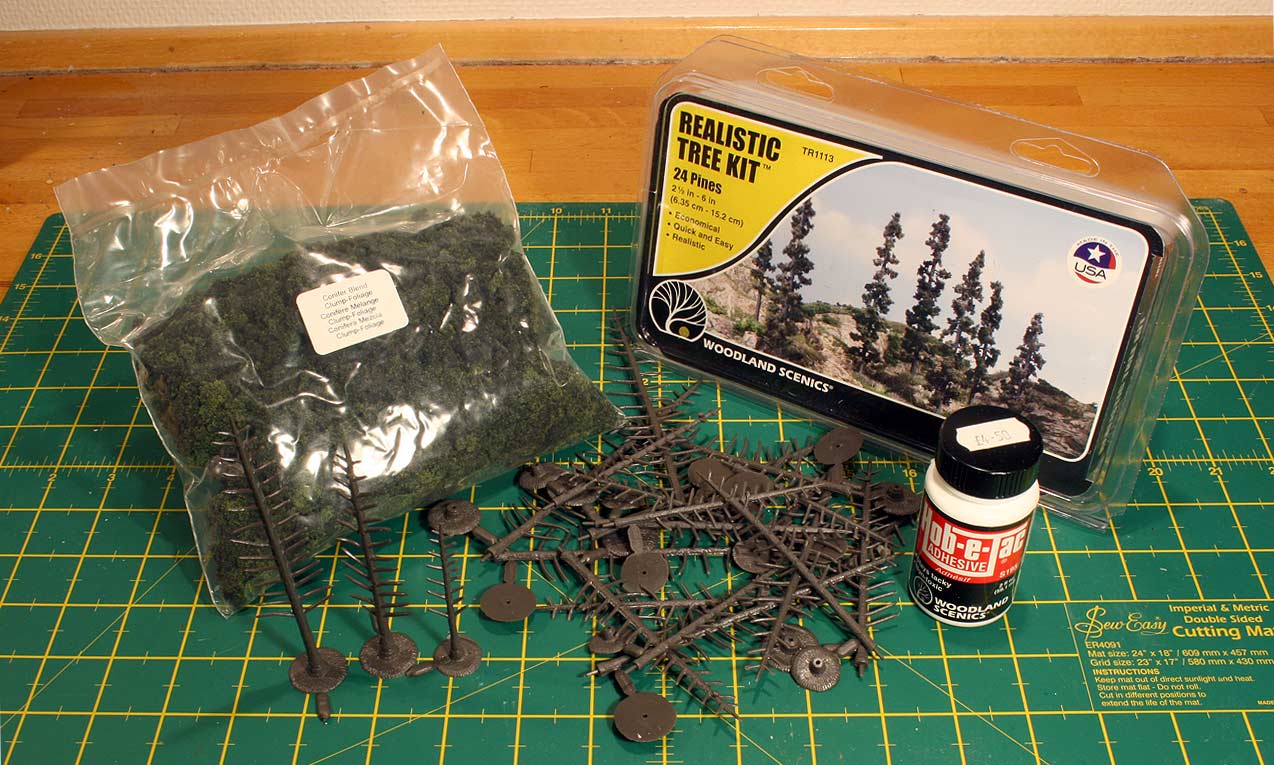
The package
contents. The Hob-e-tac glue is not included, but you will need it.
To test it out I bought the Realistic Tree Kit with 24 pine trees (Woodland Scenics #TR1113). The kit contains 24 pine amatures in different heights from 6 cm to 15 cm and a bag of clumb foliage of the Conifer Blend kind (Woodland Scenics #FC185).
There is no glue in the package, so you will have to buy that as well. You need to buy Woodland Scenics Hob-e-tac glue (Woodland Scenics #S195). The Hob-e-tac glue has a built-in applicator brush in the lid.
Your First Tree
The process is really dead easy.
- Prepare a box of clump foliage. I find it to work best if I rip the foliage into small bits. Not too small, but not too big either. You will have to experiment, but my experience was that I needed smaller pieces than first anticipated.
- Bend and twist the armature in a spriral motion so the branches of your pine tree goes in every direction. The plastic is very flexible, so you can keep bending and twisting until you are satisfied with the look.
- Paint the branches of the tree armature with the Hob-e-tac glue. Make sure you do not get anything on the trunk. Normally chunks of leaves will not sit on the trunk of a tree.
- Wait for approx. 15 minutes for the glue to dry completely clear. When it does, it will become extremely tacky.
- Dip the tree armature in the box of clump foliage. Voila: Instant tree!
NOTE: I noticed that the Hob-e-tac glue stays tacky for a very long time (several hours), so you will have plenty of time to modify your tree.
The Woodland Scenics Youtube channel have a video that shows the process. Go Trevor! :-)
From the Woodland
Scenics Youtube channel
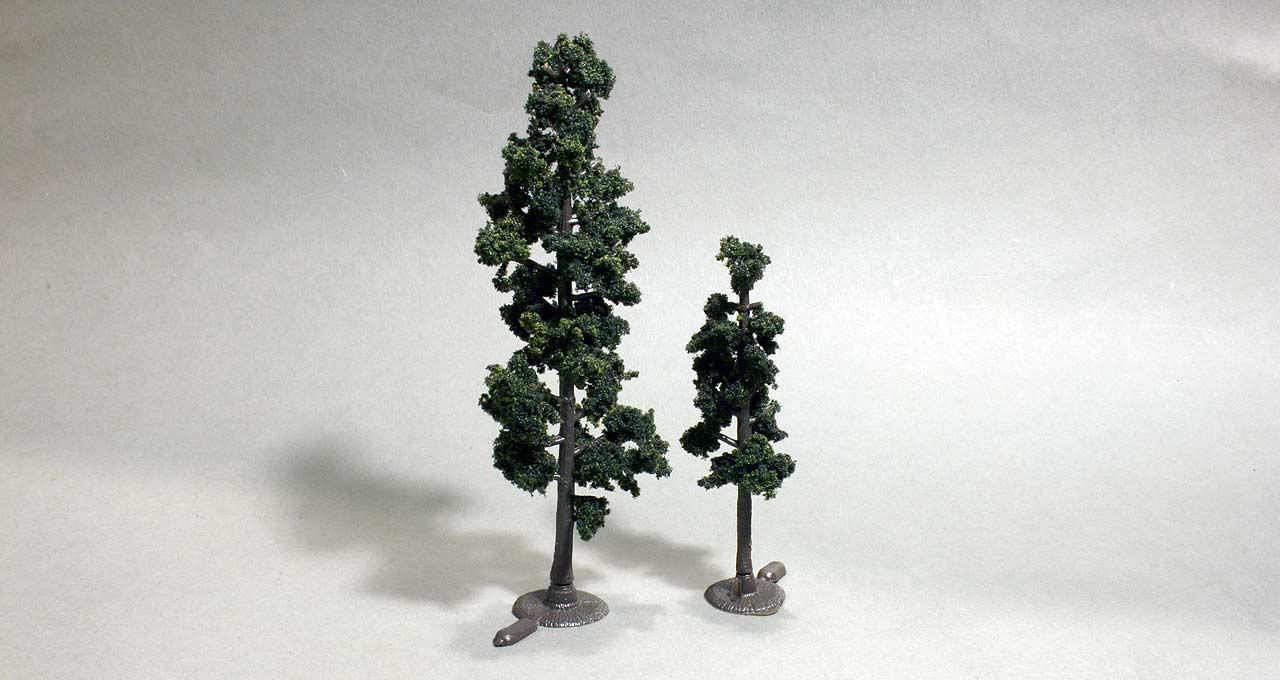
Here are a couple of samples that I have made. I do not use the base plate on the layout, but I do use it while the Hob-e-tac glue dries and when I test-fit the tree on the layout. I plant the tree on the layout by putting a needle in the bottom of the trunk and stick the tree into the layout. This gives me a solid fit.

My first self made
pine trees.
Tips For Pimping Your Tree
You can pimp your trees with additional detailing.
One way is to spray your tree using Scenic Cement (Woodland Scenics #S191) and sprinkle blended turf over the tree. This will resemble leaves or sunny spots and make your tree look more realistic. It does not matter if any of the blended turf should make its way to the trunk, because trunks do have stuff growing on them, so give your tree a more realistic look. Just remember that less is more. The Scenic Cement will dry to a clear matt finish.
Before you assemble the tree, you can give the armature a coat of matt varnish. I use Vallejo Matt Varnish (Vallejo #70.520) in an airbrush. This will remove the plastic look of the tree armature.
The Verdict
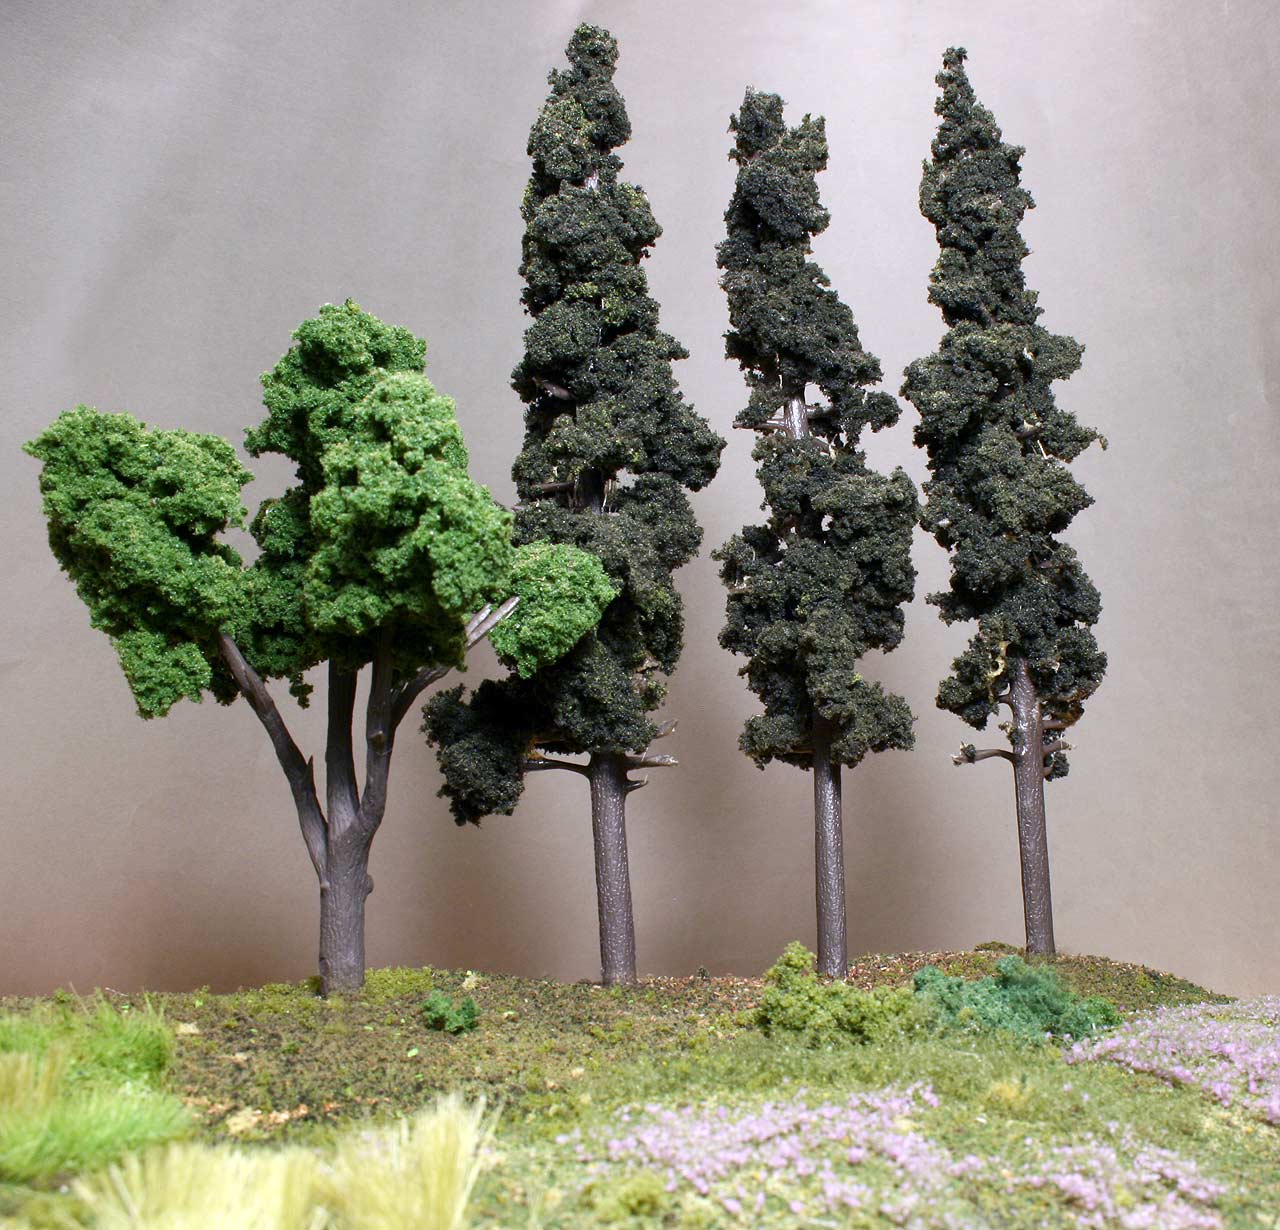
The product works very well and I will recommend it. If you are looking for a cheap and easy way to create lots of trees, you should take a look at the Woodland Scenics realistic tree kits, I think you will be happy with the result.
Further Reading
- Woodland Scenics Realistic Tree Products
- If you want to simply try the product, Woodland Scenics has a learning kit (Woodland Scenics #LK953) with everything you need. This kit also includes a sample of the Hob-e-tac glue. Read more about the Trees Learning Kit.
- Woodland Scenics Realistic Tree Kits
Happy modelling!
